Setting up the new visualization
So you just generated a QR-Code and downloaded both markers and the new QR-Code? This chapter should provide a explanation on how to set up the three components, such that the visualization can be used by any user.
Printing
The first step in the setup process is to print all three components. There are two very important things to note here!
- The white border around the marker is part of the maker. It is important for the readability of the maker, while using the visualization against a dark background.

- Both markers need to be printed at the same size. As long as both markers have the same size, the overall size of both markers can be adjusted to your liking. You can try different sizes until you find what works best for you. Keep in mind that larger marker equals easier readability.
| Do | Don't |
|---|---|
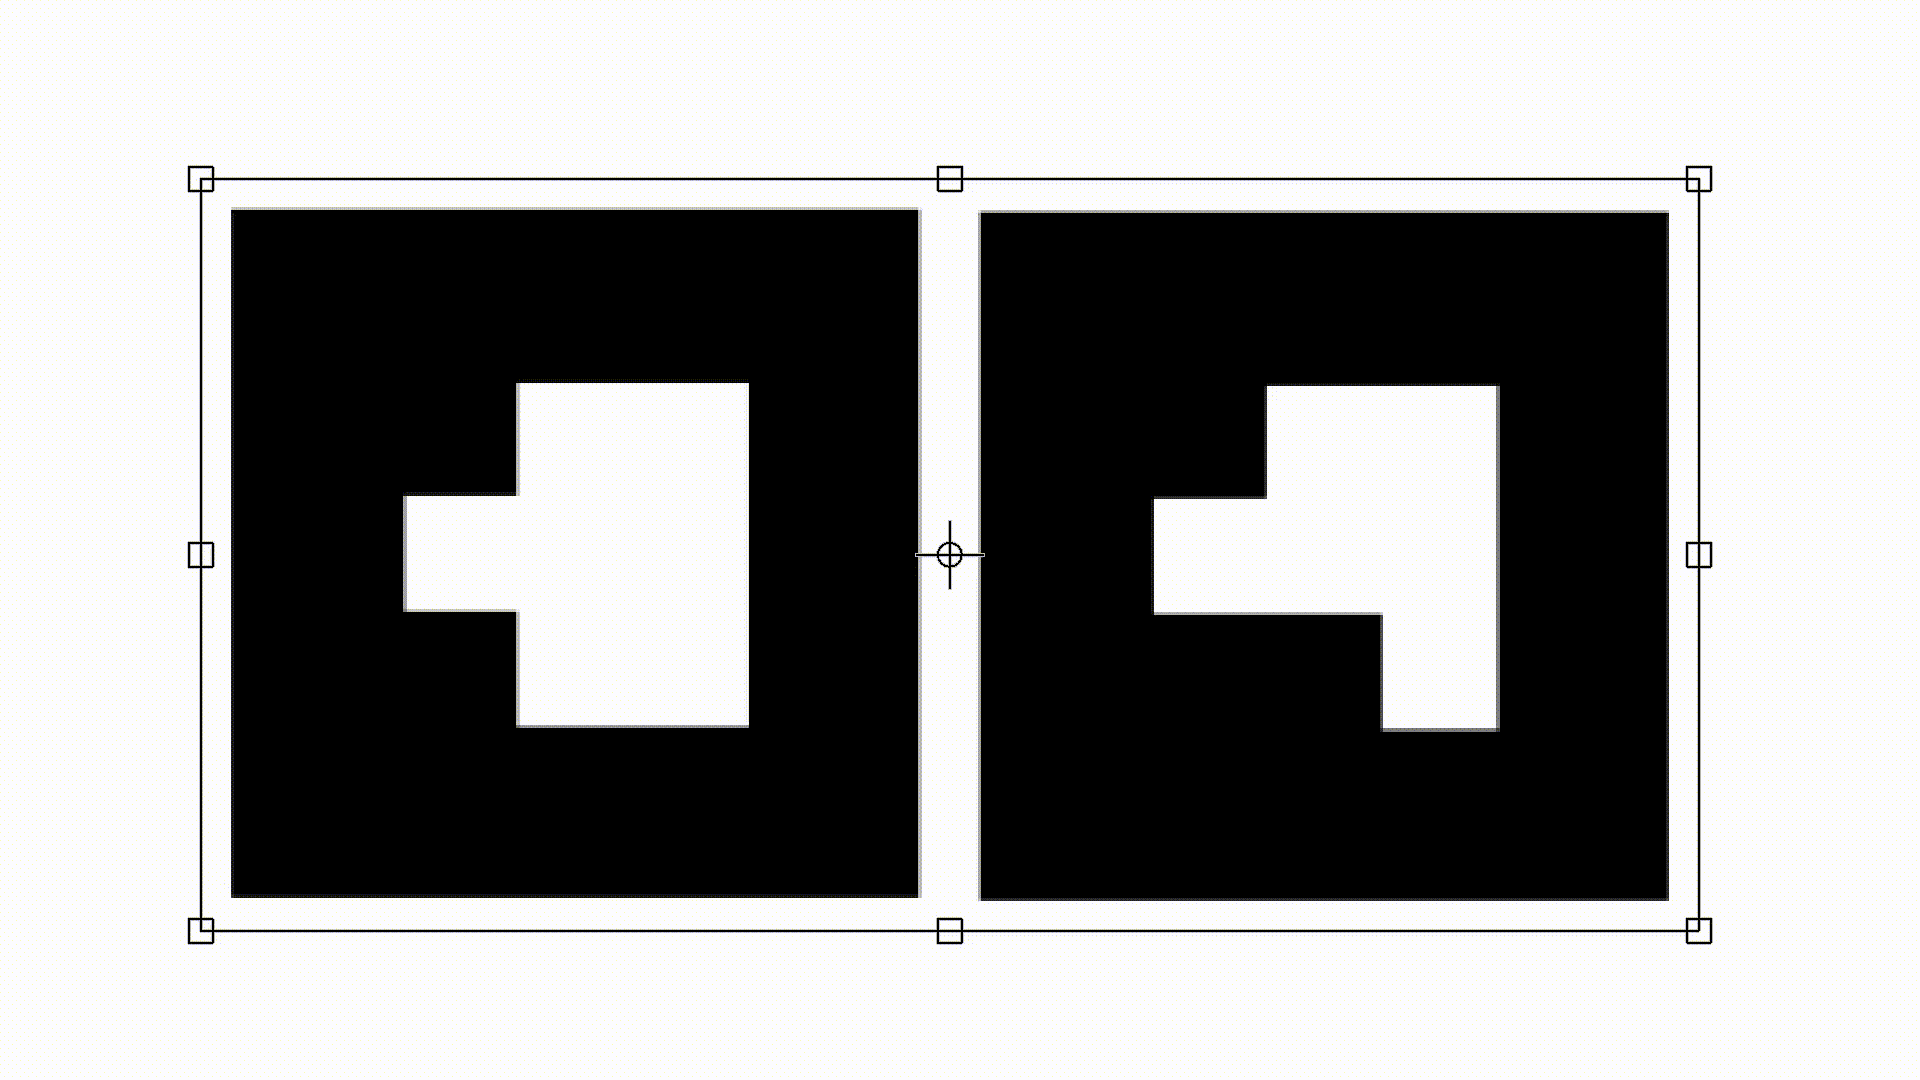 | 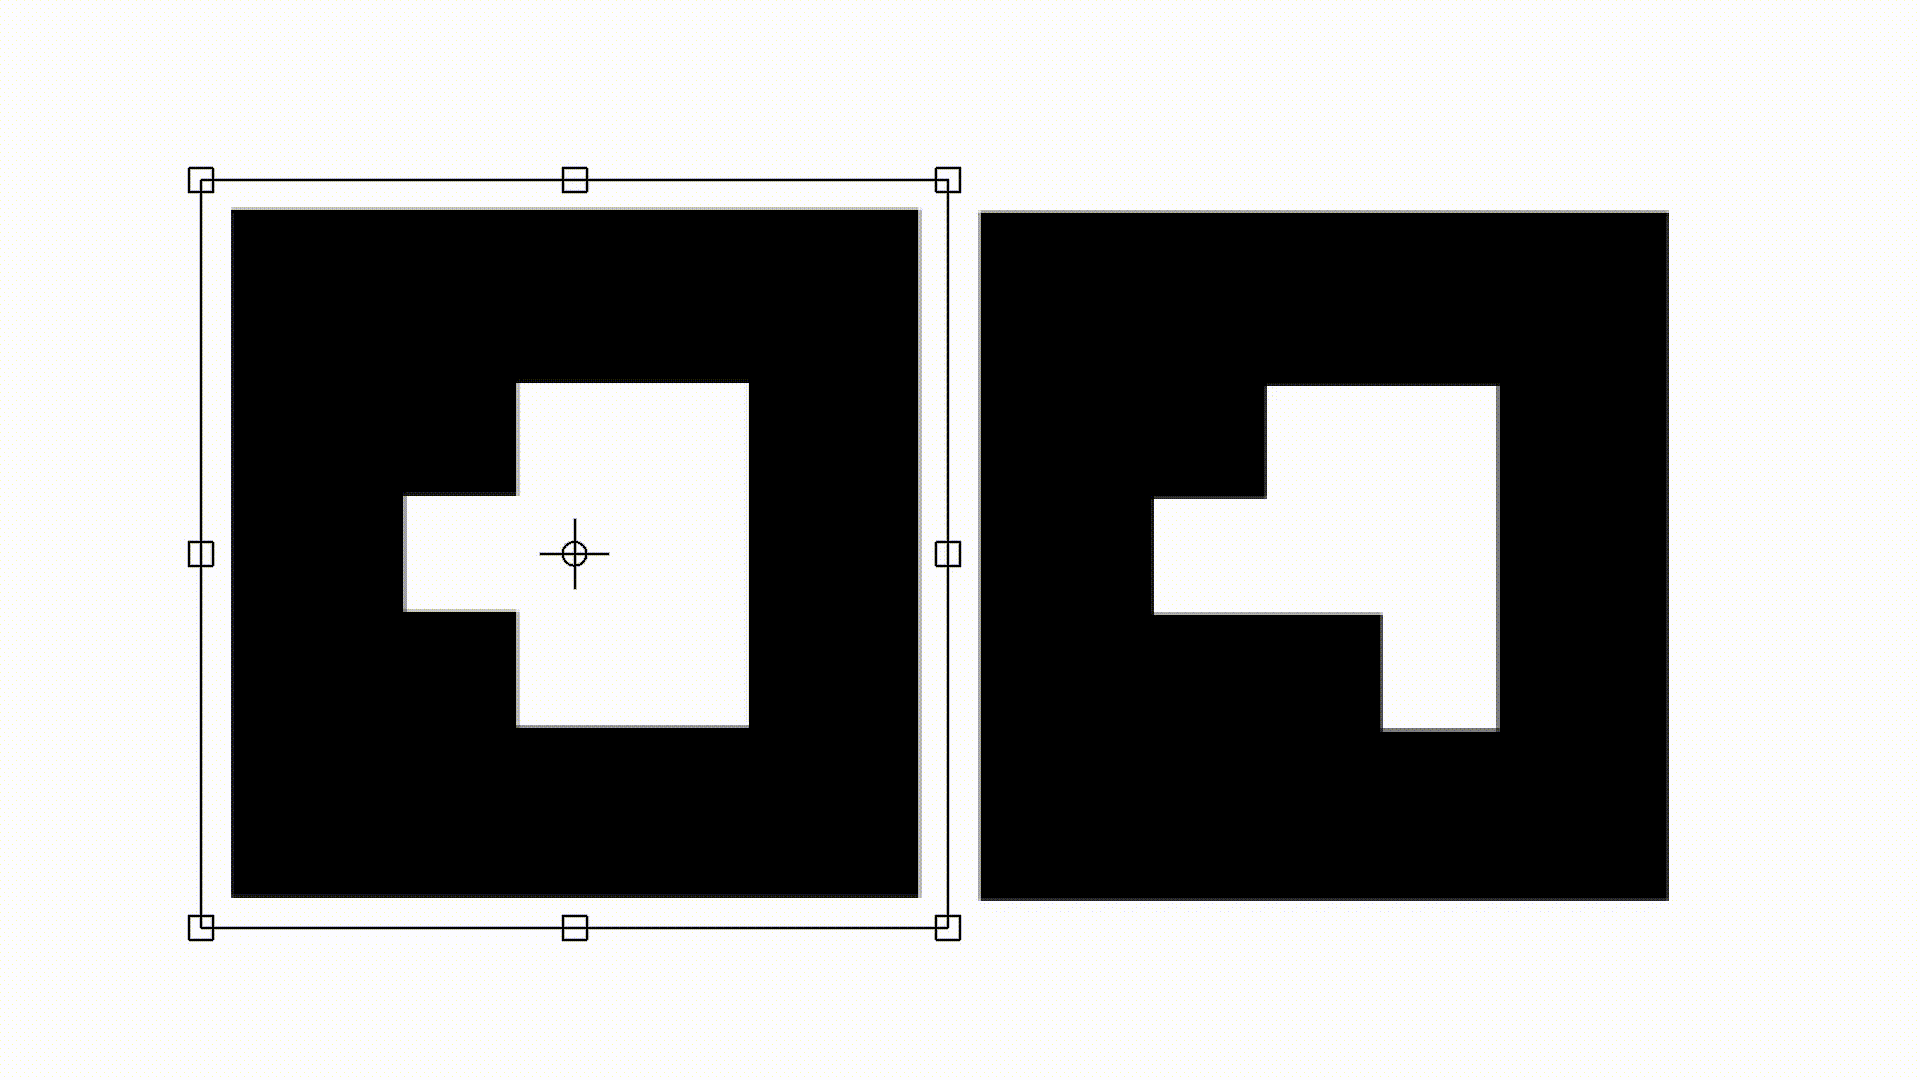 |
The size of the QR-Code doesn't matter as the QR-Code just redirects to the visualization and is not directly involved in displaying data in the AR space. Just make sure that it is still readable with your mobile device.
Calibration
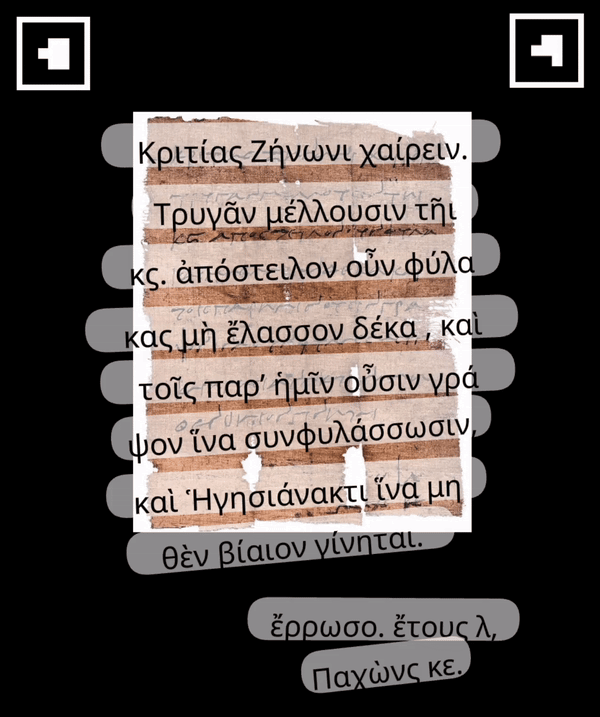
This is the important part of the setup process. In this step we will position the markers, such that the transcription is displayed correctly on top of the papyrus you want to visualize. Place the marker with value 0 on the top left of your papyrus and place the marker with value 1 on the top right. Make sure they are aligned horizontally!
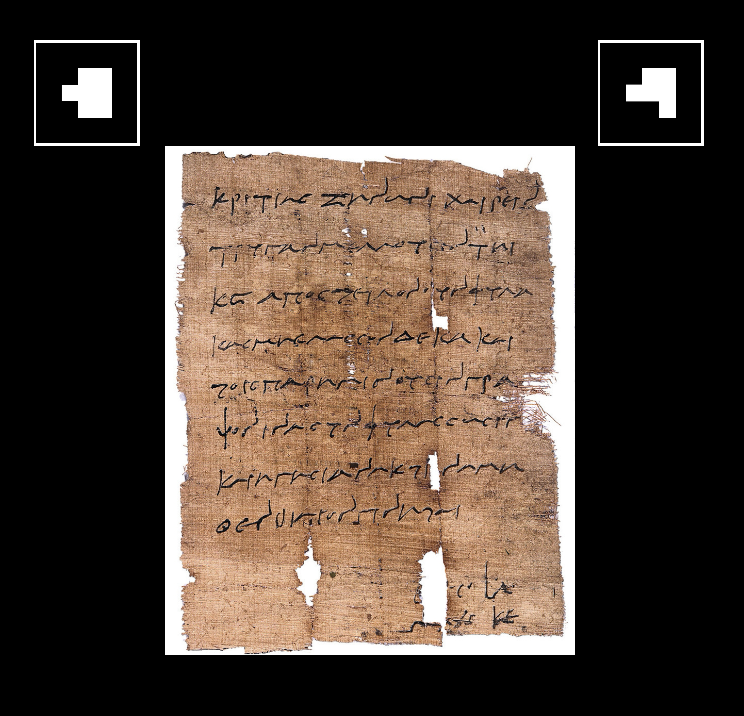
The image of "Kritias a Zenon" is licensed by the Heidelberger Gesamtverzeichnis der griechischen Papyrusurkunden Ägyptens under CC BY 3.0.
Now use your mobile device to scan the QR-Code you generated in the last chapter. This is the same way the user will interact with the visualization later. If you are prompted to do so, make sure that you allow access to camera and motion sensors! After loading change the displaying mode to "ddb", which will display the transcription of your papyrus. You can do this by hitting the checkbox on the top left of your screen. If you have chosen to use a Trismegistos identifier while creating the QR-Code, the visualization will only display meta data and the checkboxes will not be visible. In this case you can just continue with the Horizontal alignment.
Horizontal alignment
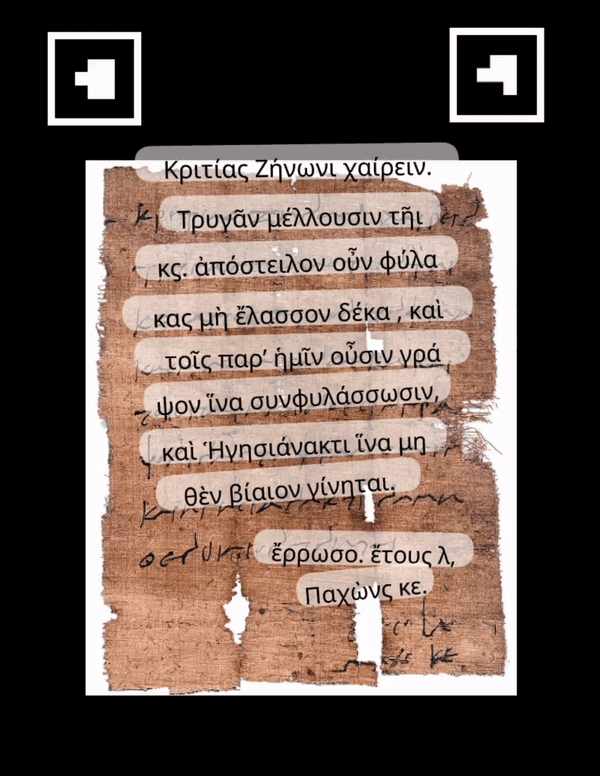
Use your mobile device to look at the visualization by holding the camera in front of the two markers and the papyrus. Now align the scale and horizontal position of the AR transcript by moving the markers horizontally. Move both of them until you are happy with the result. The transcript doesn't need to be vertically aligned yet. Try to keep both markers on the same horizontal line. If you run into any problems with the AR overlay at this point onward, please take a look at the Troubleshooting section of the Using PapyriAR chapter.
The image of "Kritias a Zenon" is licensed by the Heidelberger Gesamtverzeichnis der griechischen Papyrusurkunden Ägyptens under CC BY 3.0.
Vertical alignment
Now we want to do the same, but for the vertical alignment. Since the scale of the displayed transcript is already aligned with the papyrus, you only need to move both markers up or down simultaneously.
The image of "Kritias a Zenon" is licensed by the Heidelberger Gesamtverzeichnis der griechischen Papyrusurkunden Ägyptens under CC BY 3.0.
Finishing touch
You are almost done. All you have to do now, is to fixate both markers in their place. The last step is to place the QR-Code wherever you want.
Congratulation! You did it. You created a visualization for your papyrus.
You want to change what is displayed? Look into our Developer Guide to change this project to better fit your own needs.