Creating a new visualization
This chapter provides a step by step tutorial on how to create a new visualization for any papyrus from the Heidelberger Gesamtverzeichnis der Griechischen Papyrusurkunden Ägyptens (HGV). If you already know how to create one, you can skip to the next chapter, which explains how to set up a newly created visualization. If you are just interested in using an already existing visualization go to Using.
Where do I start?
As stated in the introduction, the visualization for any papyrus consists of three parts. While the markers stay constant for all papyri, the QR-Code needs to be generated for each papyrus individually. We offer an easy to use tool for creating the QR-Code.
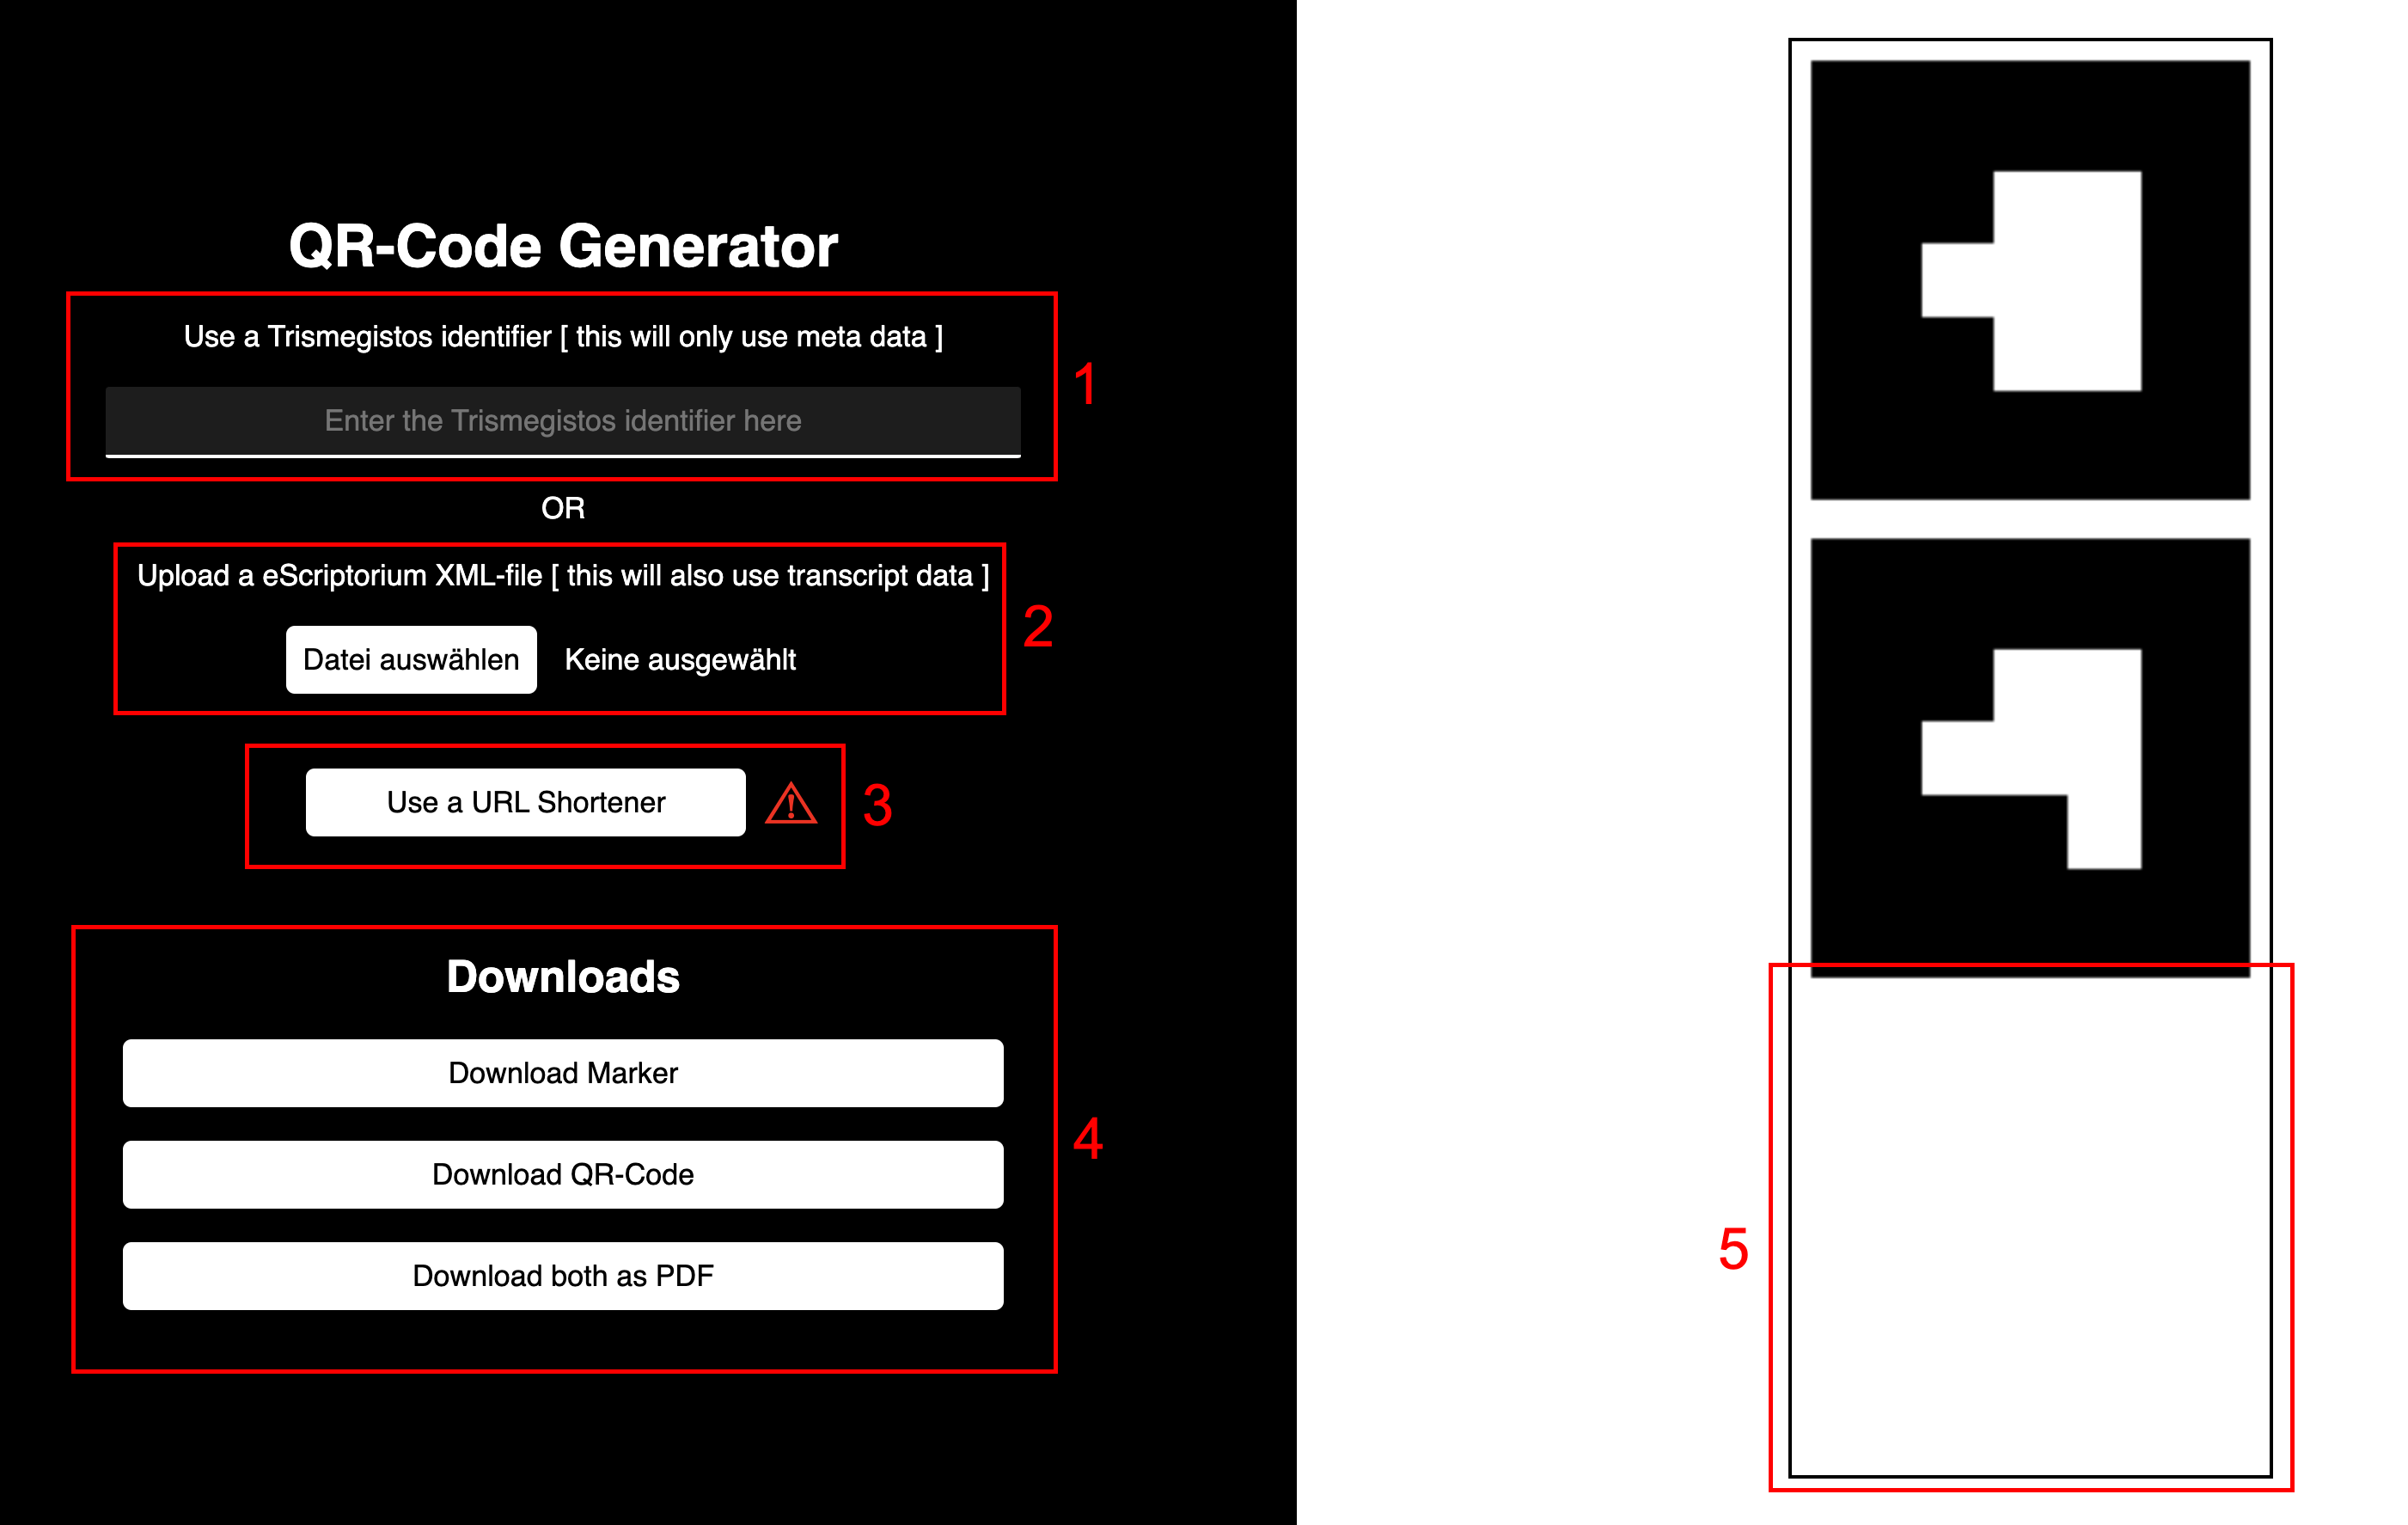
Generate a QR-Code
There are two ways in which our too is able to create a QR-Code. The first option is to generate the QR-Code through the Trismegistos identifier of the papyrus you want to visualize. This is simply done by entering the identifier into the textbox [
The alternative is to use eScriptorium data of the papyrus you want to visualize. If you have access to the eScriptorium database, all you need to do is to download the .xml file for the papyrus and upload it to the tool [
Only one of these options can be used at once. If you already uploaded a .xml file, but want to use the first method, you can remove the file by pressing the

Did it work?
If everything worked, you should see a preview of the QR-Code on the right side [
| With Trismegistos identifier "1" | With eScriptorium file for Trismegistos identifier "2020" |
|---|---|
 | 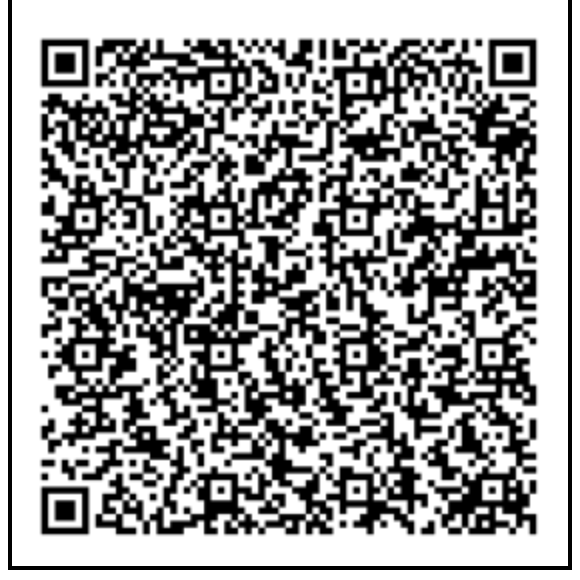 |
You might notice that the QR-Codes can get very large and complex, especially if the eScriptorium method is used. This is because the URL encoded in the QR-Code needs to store more information. This naturally makes them harder to read for your mobile device, requiring you to print large versions of the QR-Code, for them to still be usable. To counter this problem we decided to use a URL shortener. This is an optional step. You can skip the next section, if you don't want to shorten the URL.
Shorten the URL for easy to read QR-Codes
We use the open source URL shortener spoo.me. Before you use this function, you should consider that we don't control this service. We can't guarantee that the URLs (and therefore QR-Codes) created through spoo.me will stay active and keep working in the future. Although spoo.me is an open source project, we also can't rule out that you might get tracked if you use this service.
If you still want to use the URL shortener, wait until you see the preview of your QR-Code and press the shortener button [
Downloads
You just generated a new QR-Code. The last step to take is to download markers and QR-Code [
-
Both marker can be downloaded at once through the "Download Marker" button. This can be done any time and the markers will be downloaded as .png files.
-
The QR-Code can be downloaded through the "Download QR-Code" button. This is possible as soon as you see the preview of your QR-Code. The QR-Code will also be downloaded as a .png.
-
You can also download both markers and the QR-Code together through the "Download both as PDF" button. This will download a .pdf file with all three images. This is also possible as soon as you see the preview.
What next?
In the next chapter we will explain how to set up the visualization you just downloaded the components for.